Fruit leather is one of those projects that seems foolproof right up until you peel back the parchment and find a sticky, sour mess — or worse, a fuzzy one. Fermenting the puree before you dry it adds a pleasant tang and a bit of depth, but it also adds variables. Wild cultures, ambient warmth, moisture, sugar levels: each one nudges the batch in a direction you may not have planned. The good news is that the failures are almost always the same five. Learn to spot them early and you stop wasting whole trays of good fruit.
1. Treating the Starter Like a Seasoning
The most common mistake is over-fermenting because of over-starting. A couple of generous spoonfuls of whey, kefir, kombucha or brine from a previous ferment is plenty for a batch of puree — roughly two tablespoons per 500 g (about two cups) of fruit. More starter doesn't make it "more fermented"; it just gets you to the finish line faster and past it sooner.
Temperature does the rest. At a normal kitchen temperature of around 18–22°C, most purees will be ready in 12 to 24 hours. On a hot August afternoon, that window can shrink to eight. Set a timer and start tasting at the 10-hour mark, then every few hours after that.
- Ready: visible bubbles, a sour but still fruity smell, a slight thickening, and a clean tang on the tongue.
- Too far: a sharp vinegar edge, a whiff of nail polish or cider, and a puree that has separated into liquid and pulp that won't stir back together.
That separated batch will still dry, but it dries into something closer to sour candy shards than leather. If life gets in the way and you can't spread the puree straight away, move the jar to the fridge. Cold slows the culture down to a crawl and buys you a day.
2. Trying to Salvage a Moldy Batch
Mold in a soft, wet food is a whole-batch problem, not a surface one. The visible fuzz is the fruiting body; the thread-like growth underneath spreads through the puree where you can't see it. Cutting away the affected corner and drying the rest is not a safe rescue, and this is one area where "waste not" costs more than it saves. If you see fuzz in any colour, dark patches, a pinkish sheen, or smell something musty and cellar-like, bin it.
Prevention is mostly about cleanliness and oxygen. Wash jars and lids in hot soapy water and let them air-dry upside down. Use a clean spoon every time you stir, and don't stir with the spoon you just licked. Keep the puree below the surface of the liquid — a small circle of parchment pressed onto the top, or a clean glass weight, works well — and either fit an airlock or cover with a cloth secured by a band, stirring twice a day. A squeeze of lemon juice or a splash of kombucha helps keep the mixture acidic, which favours the cultures you want.
Fermented purees are not the place for long, sealed, room-temperature experiments. Keep fermentation short, keep it acidic, keep it clean — and when in doubt, throw it out.
If you're new to fermenting, follow established home food-preservation guidance for the fruit you're using rather than improvising, and don't push a low-acid puree for days on end in a sealed jar.
3. Spreading It Every Which Way
Uneven drying almost always traces back to uneven spreading. Aim for a layer about 3–4 mm thick — thin enough to dry in a reasonable time, thick enough that it doesn't turn into a crisp. An offset spatula and a gentle tap of the tray on the counter will level things far better than chasing the puree around with the back of a spoon.
Watch the edges. They dry first and thin out fastest, which is why so many batches have brittle rims and a tacky middle. Spread slightly thicker at the border, or plan to trim the edges off and eat the evidence.
Then manage the machine. Most dehydrators run hotter at the back or on the bottom tray, so rotate trays and turn them 180 degrees halfway through. For fermented leather, stay around 40–45°C (105–115°F) so you dry the puree without cooking the cultures out of it; if you've skipped fermentation and just want plain leather, 55–60°C (130–140°F) is fine.
Test for doneness properly. Peel a corner away from the parchment: it should release cleanly and feel tacky but not wet. Then let it cool completely before deciding, because leather firms up considerably as it cools. Any damp spot in the centre means another hour.
4. Drying It Into Shoe Leather
The opposite failure is just as common: leave it in too long and you get a sheet that shatters rather than chews. Part of this is timing, and part is the fruit itself. Strawberries alone make a brittle, glassy sheet. Apples, pears and plums have more pectin and body. If you're working with berries, blend in a few spoonfuls of unsweetened applesauce or half a banana for pliability.
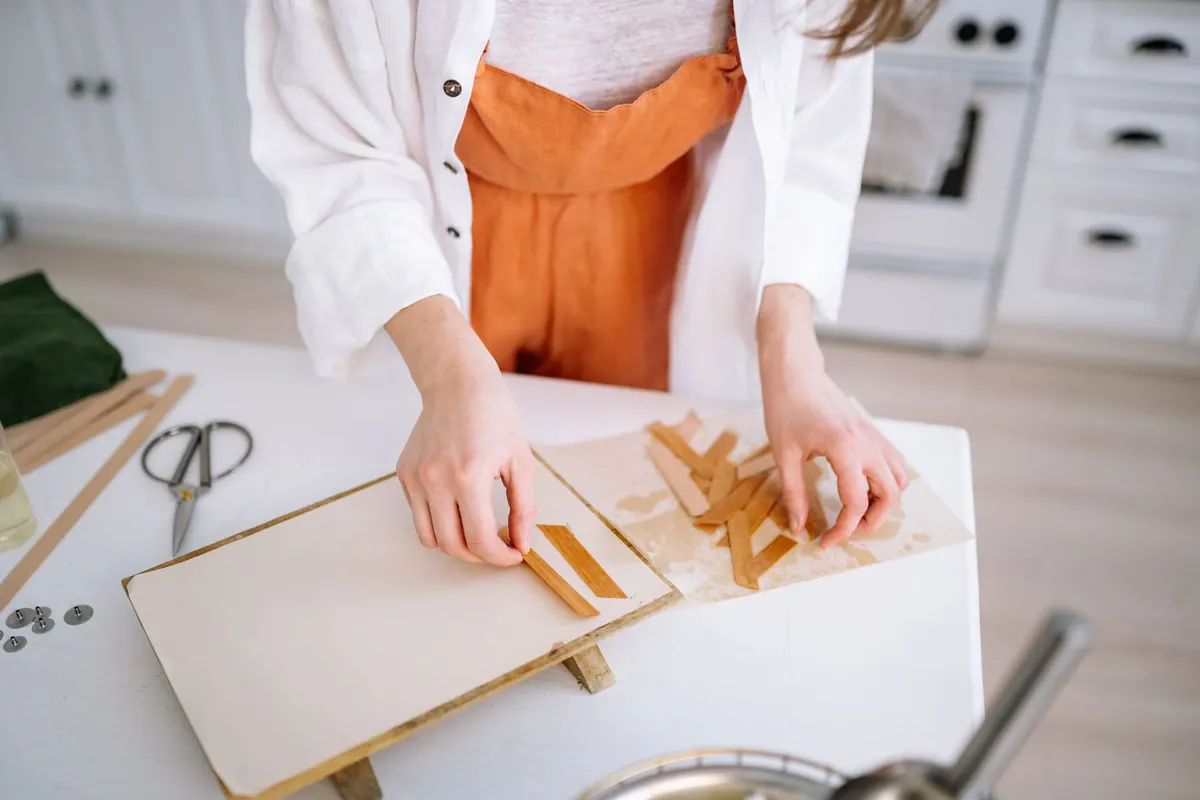
There's a fix for a slightly over-dried batch, and it's worth knowing. Cut the sheet into strips, stack or roll them in parchment, and seal them in a jar for 24 hours. Moisture migrates from the drier parts to the drier edges and everything evens out. This is called conditioning, and it also gives you a second chance to catch any hidden damp patches before storage.
Two more texture traps: over-blending fibrous skins into a paste that dries hard and glassy, and going heavy on honey or sugar. Sugar is hygroscopic — it pulls moisture from the air — so a very sweet puree stays permanently sticky no matter how long you dry it.
5. Storing It Like Ordinary Fruit Leather
Fermented leather is a different product from the plain stuff, and it keeps differently. Let sheets cool completely and air-dry on the counter for an hour before packing; even a little residual warmth turns into condensation inside the jar, and condensation is how a good batch goes moldy in the cupboard.
Roll each sheet in parchment, tuck the rolls into an airtight container, and label it with the date. Keep fermented leather in the fridge for a few weeks, or freeze it for longer storage — it thaws in minutes and the texture holds up well. Plain, unfermented leather is more forgiving at room temperature, but the fridge still buys you time.
A Short Pre-Batch Checklist
Before the next tray goes in, run through this: clean jar, two tablespoons of starter per 500 g of fruit, a squeeze of lemon, and a timer set for 12 hours. Taste early, taste often, and refrigerate the moment it's tangy enough. Spread to an even 3–4 mm, rotate the trays halfway, and judge doneness only after the sheet has cooled. Cool fully, condition overnight, then store cold and labelled.
None of these steps takes much extra effort. They just happen in a different order than most recipes suggest — and that order is what separates a chewy, tangy strip worth making again from a tray you quietly scrape into the bin.
Photo: Yan Krukau / Pexels